
Brawl Stars, the extraordinarily popular game released by Supercell, is a mobile Multiplayer Online Battle Arena (known as MOBA to those familiar to it) that possesses a rather colorful cast of characters. In most of the modes, player compete with others in teams of 3 with various objectives. The game mode shown in the maps below is ‘Gem Grab’, a mode where teams try to collect, keep and/or steal more gems than the other team. In this article, we will delve deep into the analysis of Brawl Stars maps to help the players to get the most out of the matches.
Why understanding the maps in Brawl Stars is important?
To the experienced player, it may seem odd to outright ‘study’ a map. The layout of a map is fairly important, as most would know, the extent of that importance has become far less relevant as time goes by. This is not because Brawl Stars players are losing brain cells by the hour (or from suffering intense PTSD via flashbacks of Leon’s initial release). No, this is because as far as Brawl Stars tier lists go, they focus dominantly on an entire game mode, as opposed to how it’s maps are setup.
Popular YouTubers such as KairosTime, Orange Juice Gaming and Lex (Brawl Stars) all make several tier lists of their own, but these generally tend to operate solely on an entire game mode as opposed to its individual maps. This isn’t done out of laziness or incompetence, per se; making 20-minute videos covering dozens of maps would result in their tier lists lacking any explanations. The alternative would be for them to make multiple-hour long videos, which is an unreasonable effort. However, because they don’t cover maps, doesn’t mean that they shouldn’t.
Decoding the Showdown maps
As a 10-player-FFA that takes place over huge maps, the specific composition of maps changes the viability of a brawler massively at times. The most common differences are in the number of ‘Power Boxes’ or ‘Power Cubes’, how open the map is, and how many bushes are within it. An example would be the infamous Eye of the Storm.
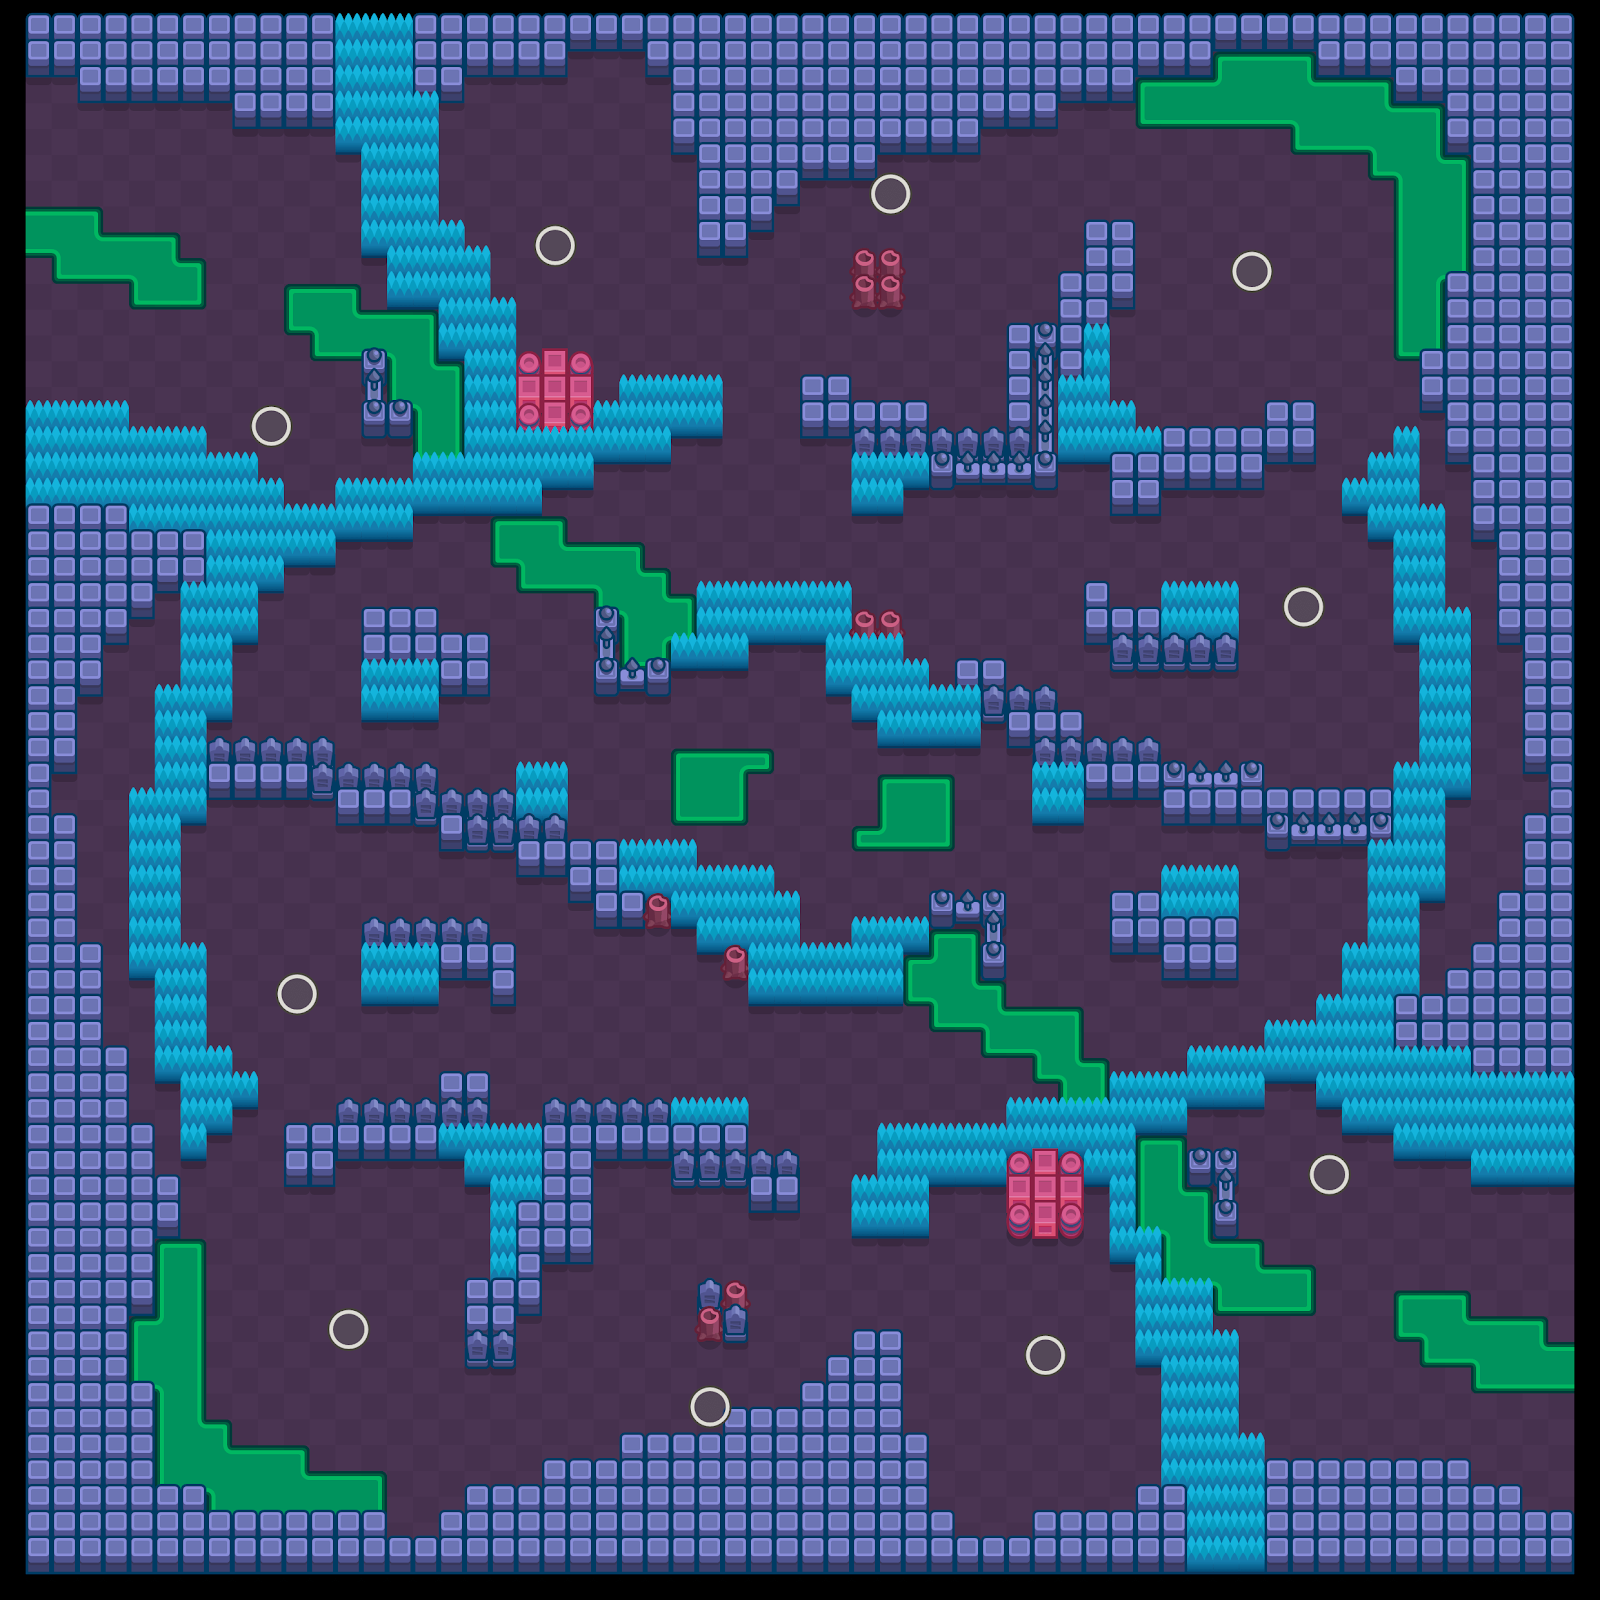
Now compare it to another Showdown Map, Rocky Blocks.
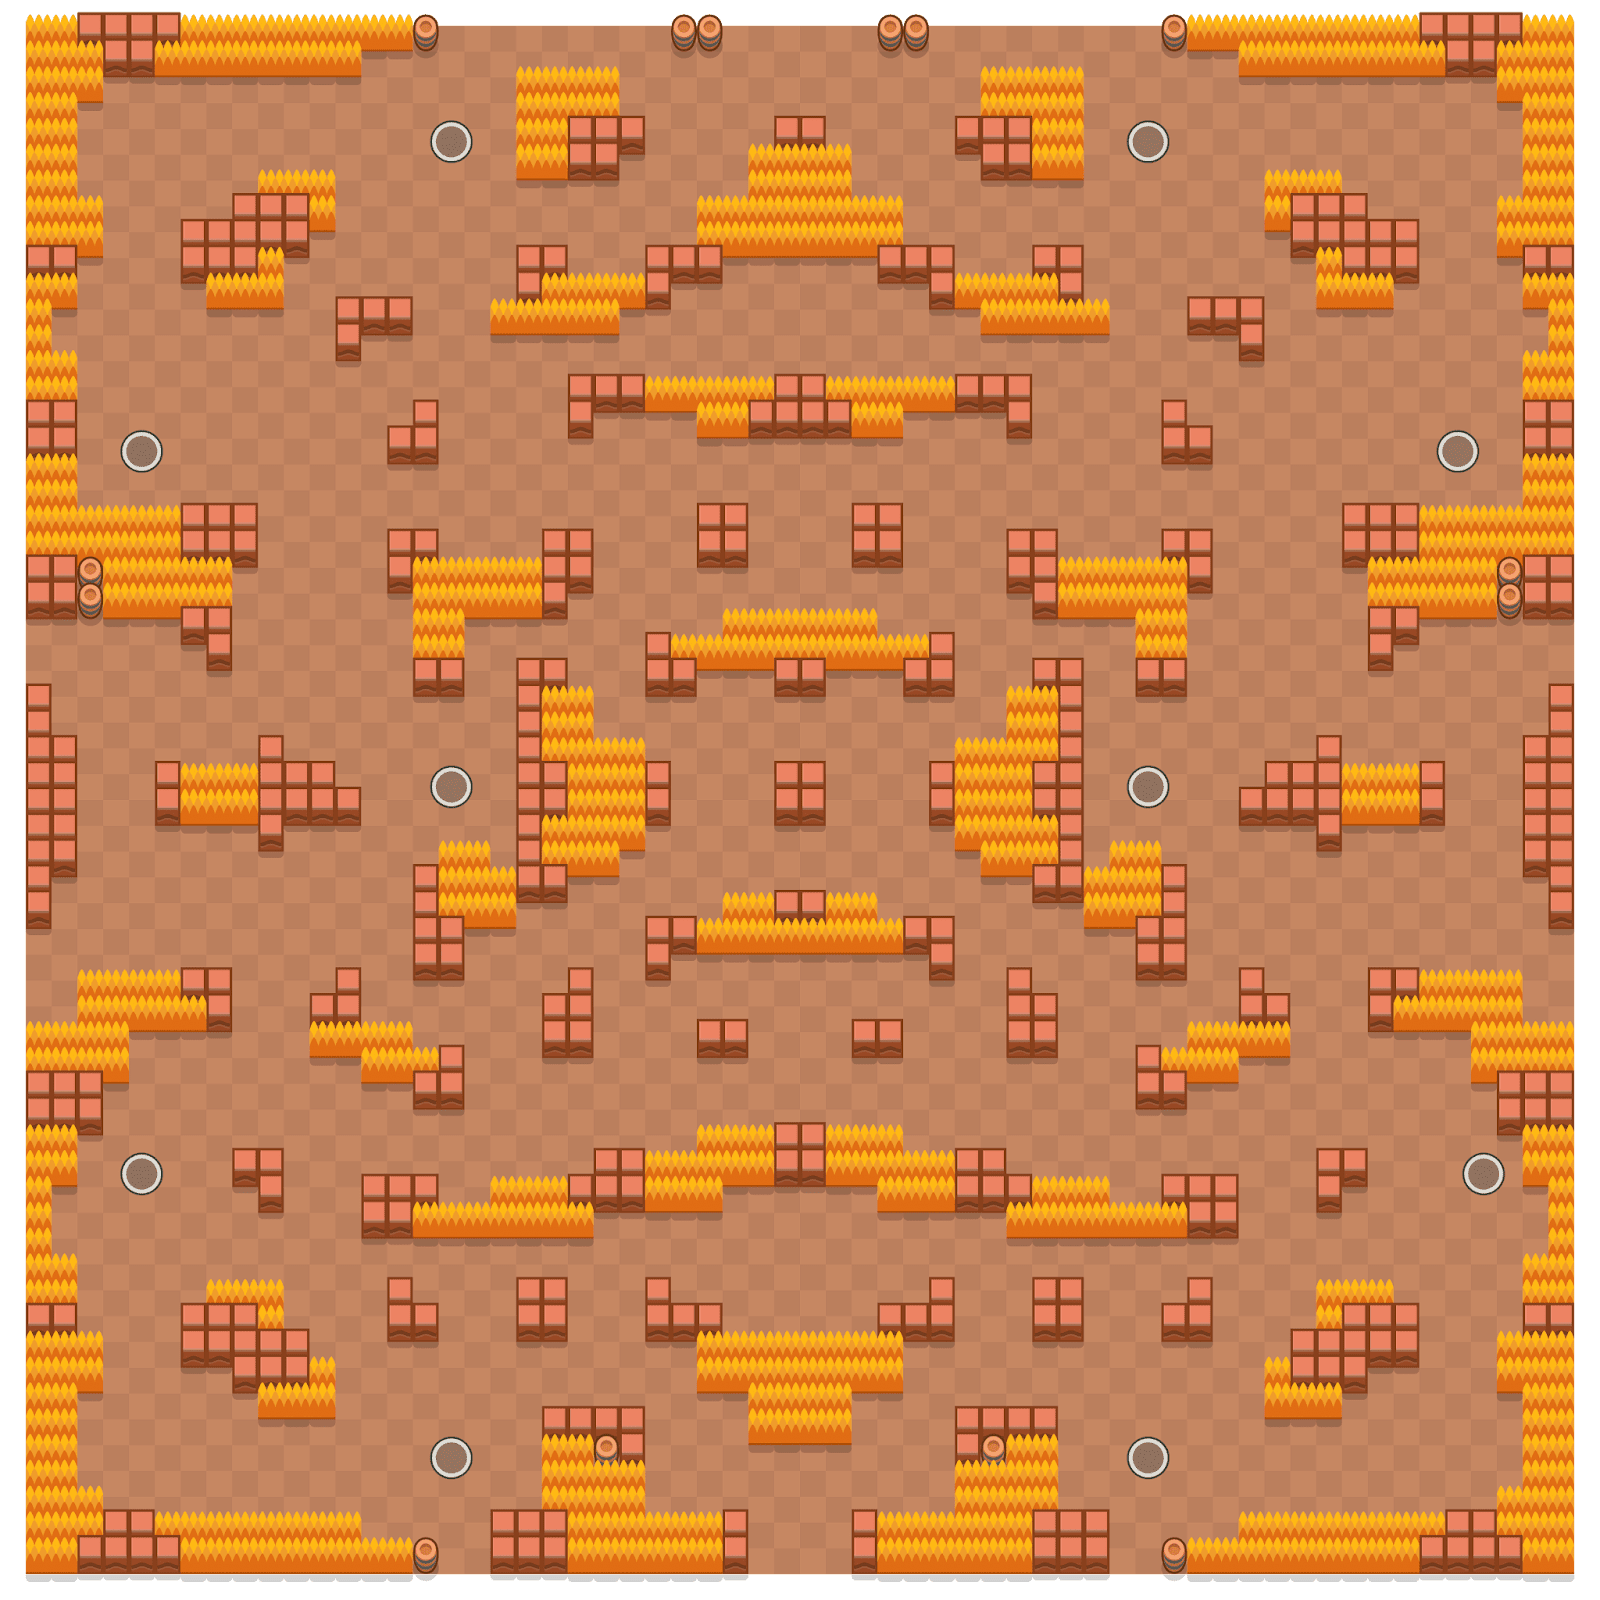
These two maps, while they both have lots of bushes, are extremely different once they are actually played. The main difference is how interlinked the bushes are. Eye of the Storm is the only current Showdown map where you can travel through massive parts of the map and remain completely unseen. In Rocky Blocks, the bushes are mostly sparse and separate. So travelling like this is impossible.
Another key difference is their wideness as well. Rocky Blocks has a generous amount of wide space, giving long-range brawlers more opportunities to actually work. Eye of the Storm is, by technicality, open, but the huge amount of bushes means long-range brawlers wouldn’t do well. They aren’t the type to camp out stealthily and snipe people from afar.
To give more idea on how drastic the differences can be, here are the rankings for some Brawlers in the two different maps.
- 8-Bit is 17th in Rocky Blocks and 1st in Eye of the Storm.
- Bea is 26th in Rocky Blocks and 19th in Eye of The Storm.
- Bo is 20th in Rocky Blocks and 13th in Eye of the Storm.
- Spike is 30th in Eye of the Storm and 21st in Rocky Blocks.
This is a spectacular showcase of what I am talking about; 8-Bit is nearly exactly in the middle for Rocky Blocks, and yet is the absolute best brawler in Eye of the Storm. When discrepancies like this exist, studying only general tierlists is quite arguably not a very good decision.
Solo Showdown, in particular, is a mode with a lot of randomnesses (spawn locations, the placement of Power Drinks, Meteors, the giant robot). So managing that little odds you have is essential to winning.
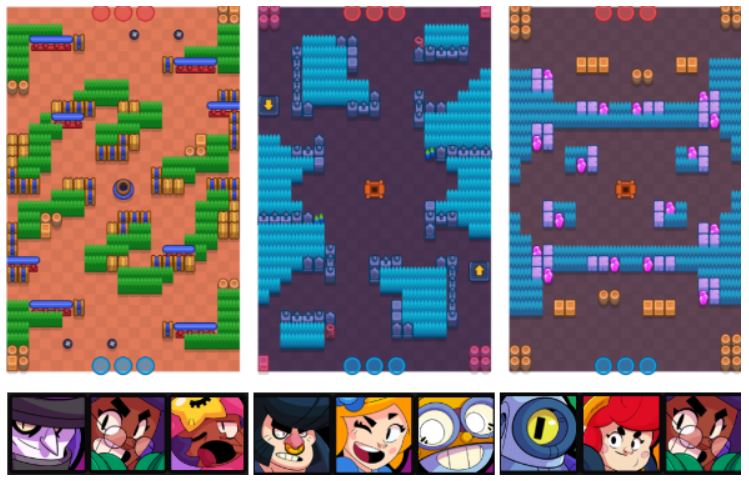
Decoding the Bounty maps
Let’s go ahead and cover another two maps, this time under the game-mode Bounty. The two maps on display are Canal Grande and Snake Prairie. And the differences between these two are extreme.

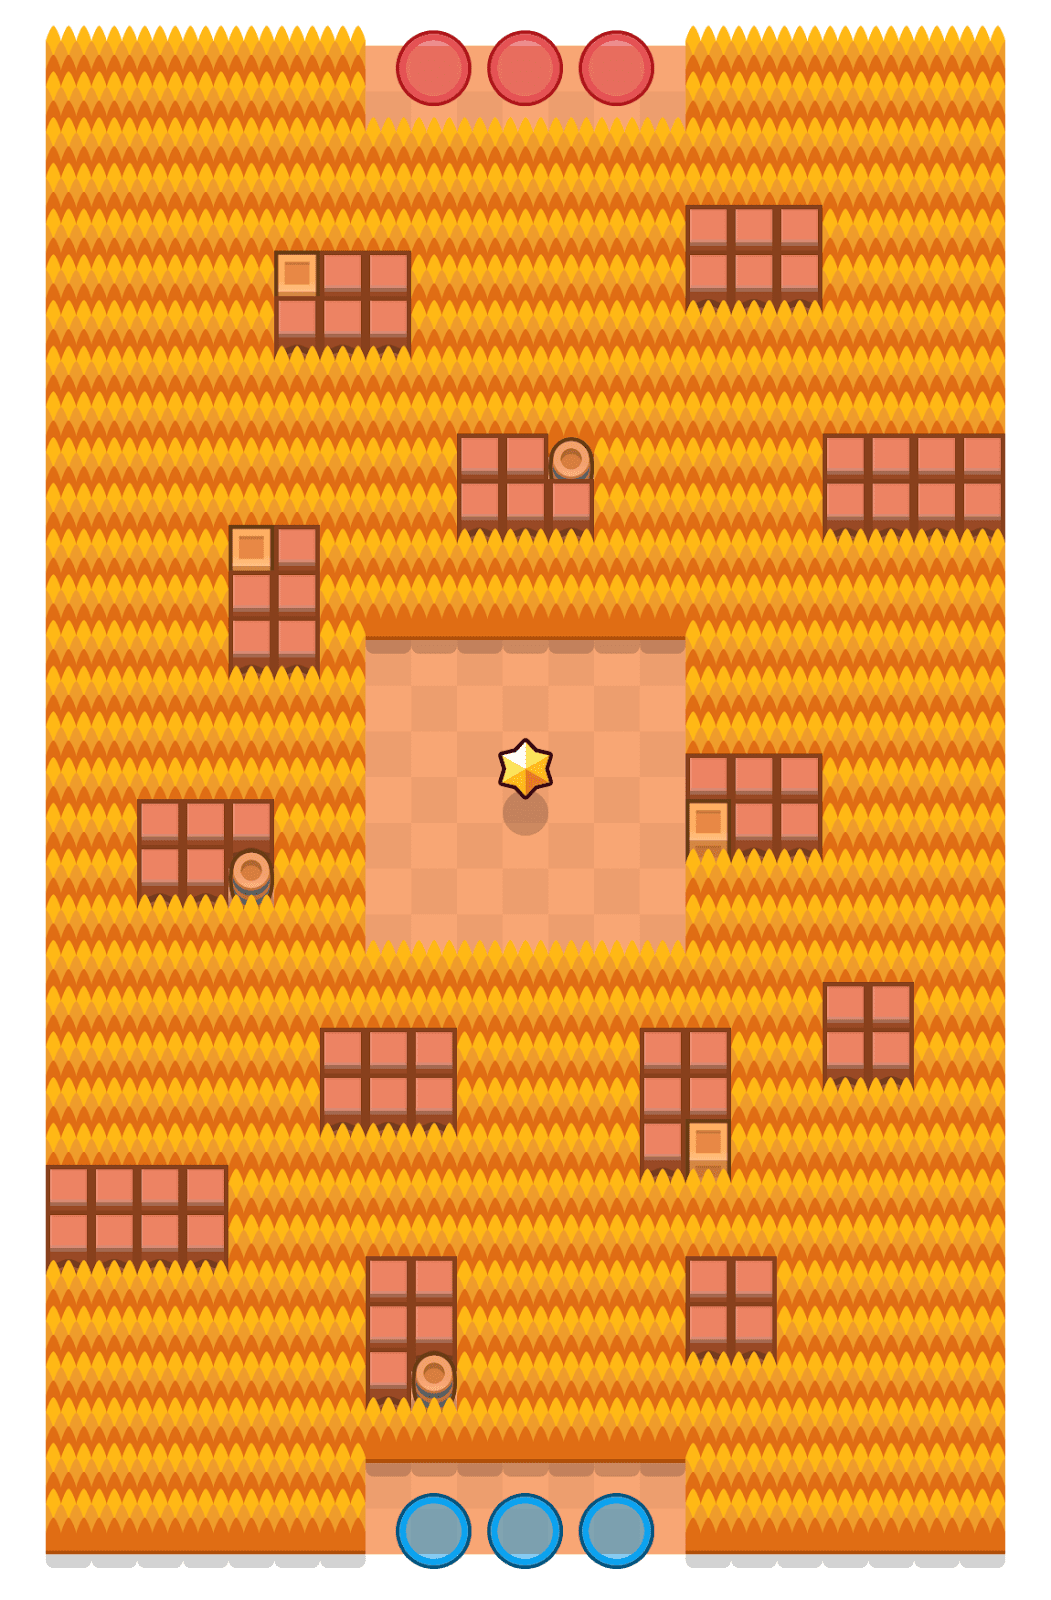
Canal Grande is a large, open map, extremely suitable for long-range brawlers. And it is perfectly positioned bushes and walls make it so that melee brawlers can still survive out against a horde of Ticks and Barleys. The separation of the map, however, means that more often then not you’re either fighting one enemy with an ally, or 2 enemies by yourself, or even a 1v1. Individual brawler matchups are much more important in this stage than in most stages.
However, in the case of Snake Prairie, while it is a very open map, with it almost being entirely bush-filled, stealth is extremely valuable, and long-range brawlers have a very hard time competing up-close. The advent of Supers that destroy walls and structures (Bull, Dynamike and Tick to name a few) means that there can be gaps created in this map that both help and hinder you. “Great, there’s less room for them to sneak past us!” you might say, but there’s less room for you as well.
These are two completely different maps. The types of play required from them are almost like day and night, being completely uncomparable. In the face of massive deviations like this, I would believe that choosing a Brawler that fits only the mode, and not the map, is a critical mistake if you’re expecting to win.
Let’s go over more minute details about individual brawlers as well, just so that you can properly understand my point, in case the message was not clear:
- In maps with less walls, brawlers like Poco and Nita can slowly but surely deal lots of damage to you-and even if you run away, they’ll just keep on firing. Assuming you’re a brawler they outrange (or can’t really aim very well), chances are you’ll die a slow, annoying death. However, if a map has a wall, circling around the wall is your only hope. (Dashing away in Bull/Darryl fashion often springs you from the jaws of one brawler to another.)
- Maps with lots of bushes are obviously a very great boon for the tanky and oft-loathed Rosa, whose first star power continuously restores her health while she’s in a bush. Likewise for Piper, whose first star power gives her 800 more damage, but only when hidden.
- Bea, a brawler that’s absolute terrible at destroying structures of any kind, does not need to worry about that in showdown maps with nearly no Power-Up Boxes, making her much more useable in those maps.
- Bull is damn-near unplayable in any Showdown match without a lot of bushes.
What now?
After reading this, there’s most likely not much that needs to change about how you treat brawl stars matches on a moment-to-moment, in-game basis. What you should do, however, is use the map preview function more. Choose a mode, go press the cute little “i” icon on the big, grey button, and you might learn something. I think it’s worth a try for you to take a shot at thinking about map layout more unless you play just for fun and not to win.
If you find the Brawl Stars maps guide useful, don’t forget to follow GamingonPhone on Facebook and Twitter. And if you are looking for a group of mobile gamers to talk about mobile games, join our Discord server today!