
Free Fire is a battle royale game, unique in its own way. Upon the first-time download, new players are introduced to one out of a total of three maps – Map Bermuda in Free Fire. Bermuda is one of the largest maps rivaled by the deserted Kalahari and breathtaking Purgatory.
Free Fire Bermuda Map
The vast and bright landscape in Bermuda is good for all sorts of uses. This is the reason it is the main map used for all sorts of events. With enough practice, the landscape can be easily learned.
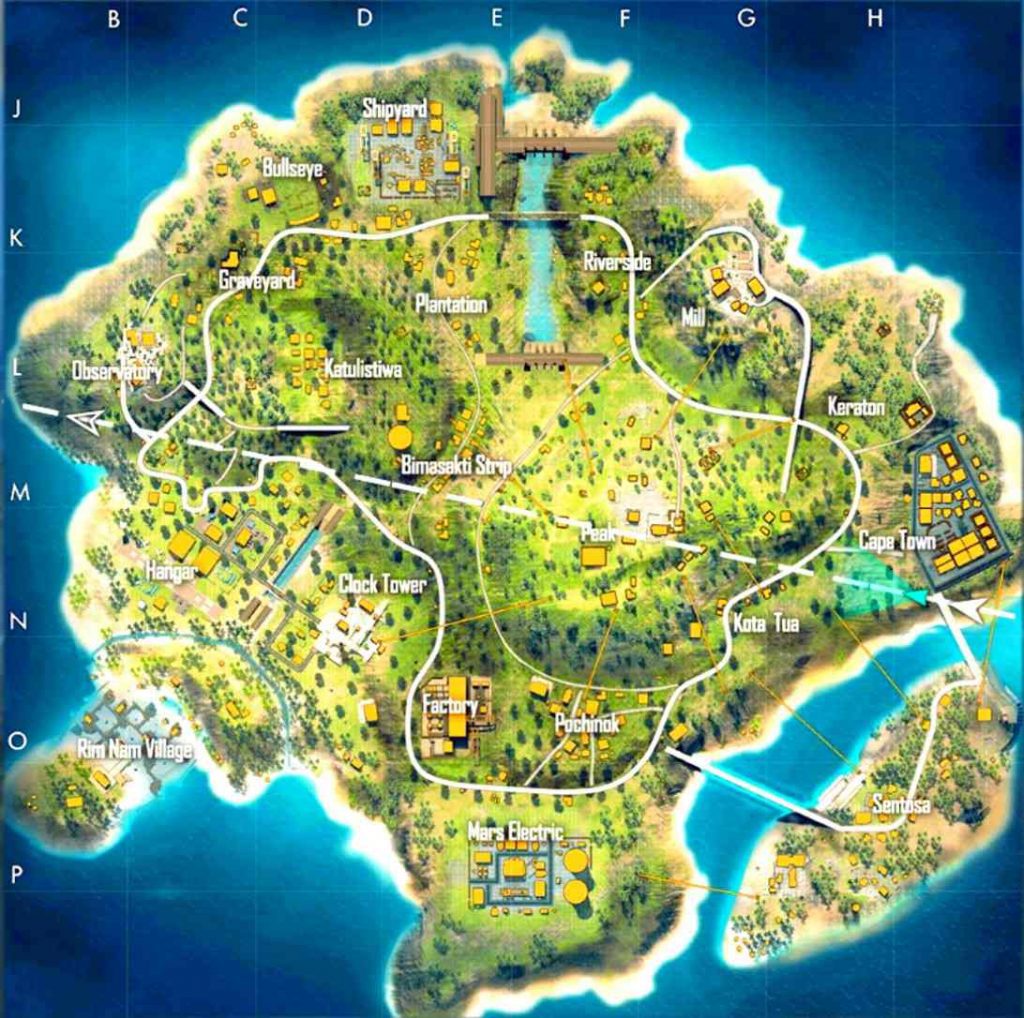
This article will list all locations in the Free Fire Bermuda map by alphabetical order describing them thoroughly underneath. Also, to make sorting easier we shall introduce Descend status, which will be used to determine exactly how dangerous landing in a certain location is and will be described underneath each location description.
All locations in Free Fire Bermuda Map
1. Bimasakti Strip
Tier Loot: Mediocre
Bimasakti Strip is located at E4 on the Bermuda map. This location is a both high and low situated, mediocre available loot area on the Free Fire Bermuda map. Known for its high structures and leveled terrain, the below buildings provide decent loot and its large tower gives a perfect height advantage. However, the tents can contain average loot, if not the randomly placed tables nearby already satisfy player demands.
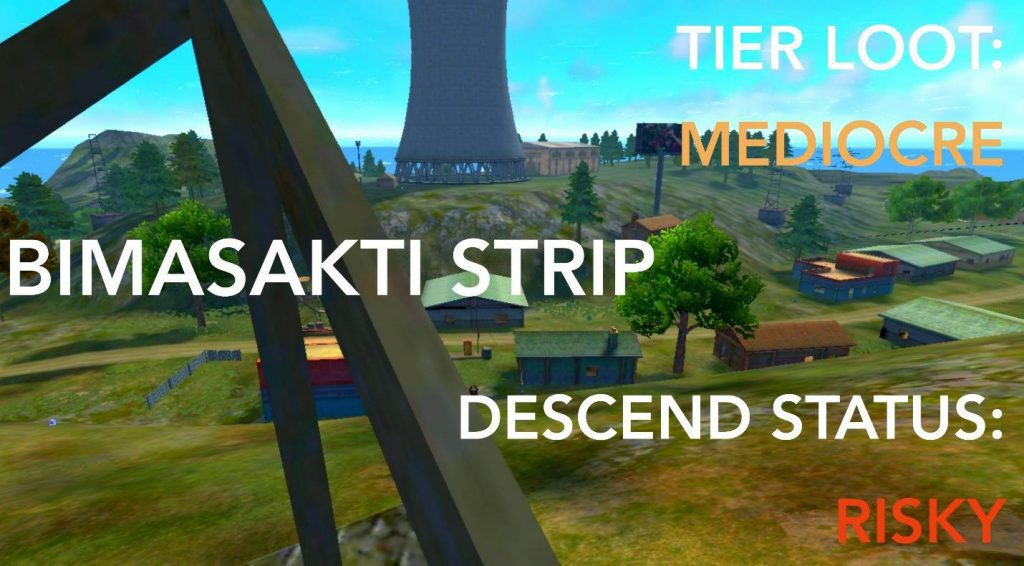
Descend Status: Risky
A risky area to land as it is situated near the Peak, and even more when it is the hot zone. There aren’t many structures to hide in for it is mostly an open field with few trees to hide behind.
2. Bullseye
Tier Loot: Mediocre
Bullseye is located at C2 on the map. It is a low situated, mediocre available loot location on the Bermuda map. Upon entering, the player is met with terrain with targets, low walls, and a few structures. While the structure themselves contain low tier loot, the open target terrain has high tier loot, even when not hot zoned. Being this close to Graveyard also makes it worthwhile to travel to if not already stocked up on the good stuff.
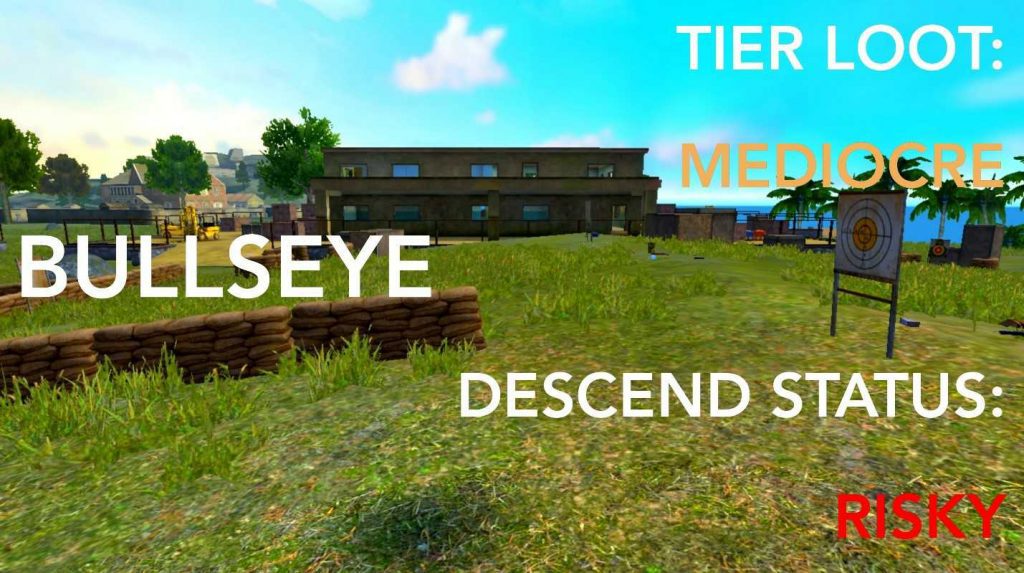
Descend Status: Risky
Being located near the high tier loot available Graveyard makes this area a risky place to land, especially if you land in its open field. There is some cover tuning up survival chances a bit higher, but it is advised to loot and clear the area as swift as possible.
3. Cape Town
Tier Loot: Mediocre
Cape Town is located at I5 on the map. It is a low situated, mediocre available loot area on the Bermuda map. Known to attract players especially when in the planes line of flight, the Cape Town area is advised to be looted quickly. The location is characterized by its double floor structures, quickly maneuverable houses. Unless one is to gently take a stroll on the area’s wide terrain, there are plenty of houses to get to safety if shot at, but the area is hard to exit during an enemy attack due to there not being other structures for meters if the player decides to travel further.
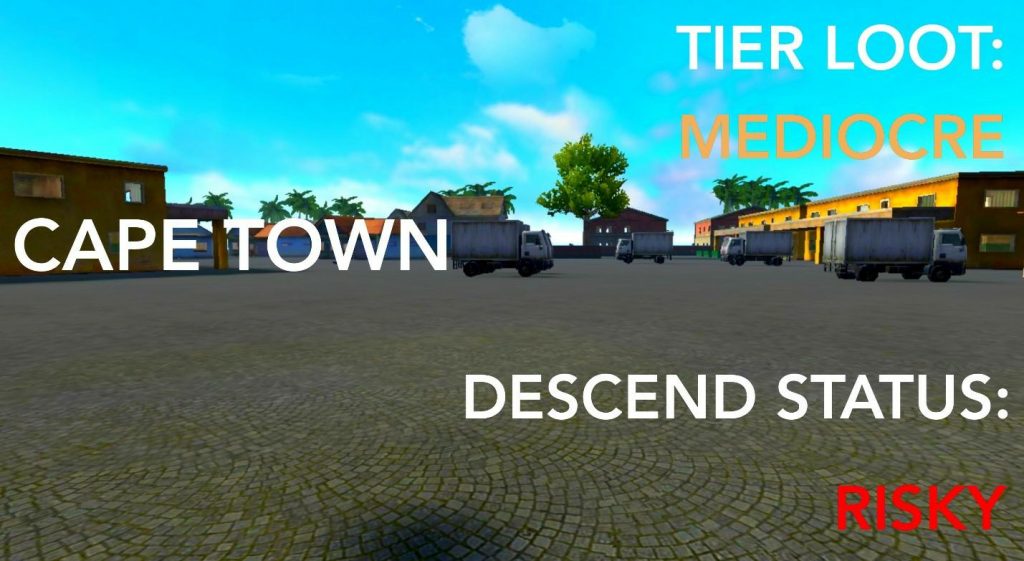
Descend Status: Risky
Being located near the high-tier loot available Sentosa makes it a debatable location to land. The area is, however, directly connected with Ziplines making it easy, but it is time sensitive to travel between both locations in search of higher tier loot.
4. Clock Tower
Tier Loot: Mediocre
Clock Tower is located at D5 on the map. It is a stable situated, mediocre available loot area on the Bermuda map. The location contains a literal clock tower situated high with another house that is able to be reached by climbing up using the stairs on either side. It also has 4 houses beneath with a terrain covered up with boxes being a perfect cover if shot at. The area itself is advisable to visit if nearby locations do not offer demanding loot but need to be entered with caution for possible nearby enemies.
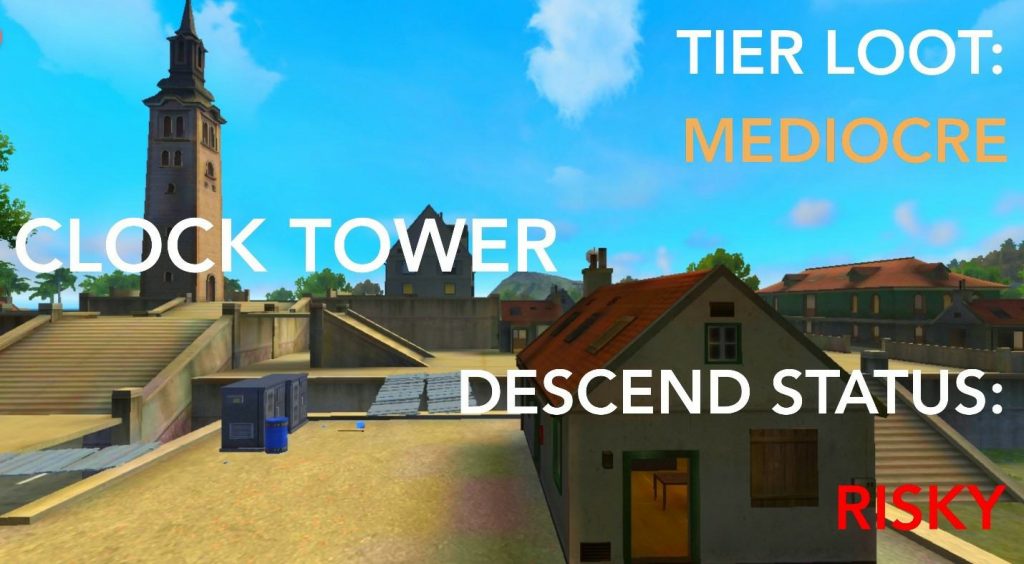
Descend Status: Risky
A risky place to land with the high tier loot Factory nearby. It is advised to loot the area as swiftly as possible if planned to travel further or camp within one of the 5 houses to shoot down nearby enemies.
5. Factory
Tier Loot: High
The factory is located at E6 on the map. It is a stable situated, high available loot area on the Bermuda map. It is characterized by a factory with climbable staircases and a roof providing little cover. Even if not the hot zone for even more good loot, the area is great for camping and foreseeing enemy attacks. And if lucky, it could be the last area needed to travel to when the safe zone shrinks. Escaping can be hard if your run-up to the gate side as that area contains fewer trees than any of its other sides.
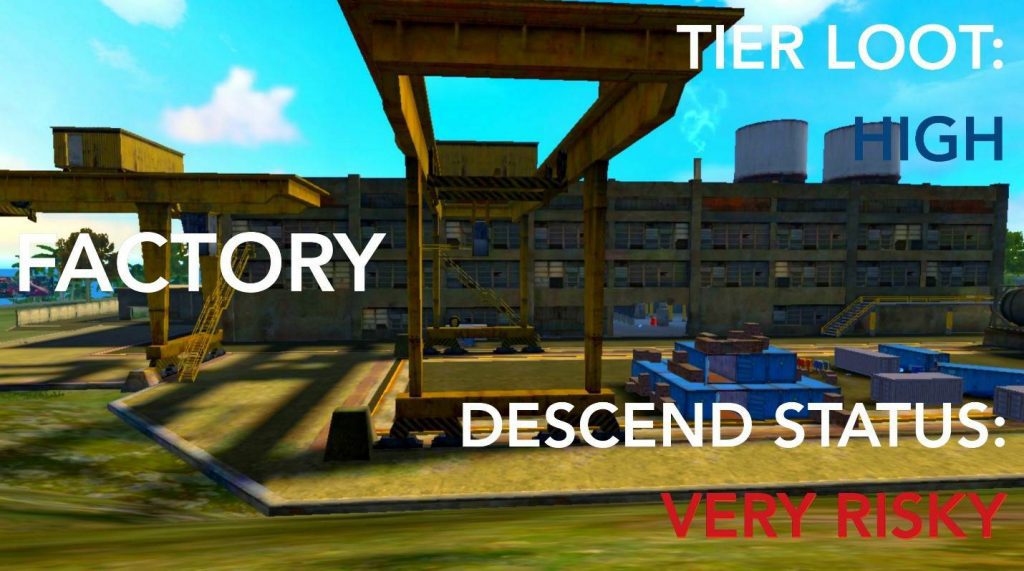
Descend Status: Very Risky
An extremely risky to land on or even enter. It is advisable to look out for prying enemies, loot, and exit the area the moment anything good is found.
6. Graveyard
Tier Loot: High
The graveyard is located at C3 on the map. It is a low situated, high available loot area on the Bermuda map. Attracting many players to visit this area. The area contains a large shady house with lootable tombs and walls that provide some cover. Few houses also reach out to the landscape but don’t contain as much loot as the gloomy area within the location. A very advisable area to visit for good loot even when not a hot zone, but enter with extreme caution for nearby enemies.
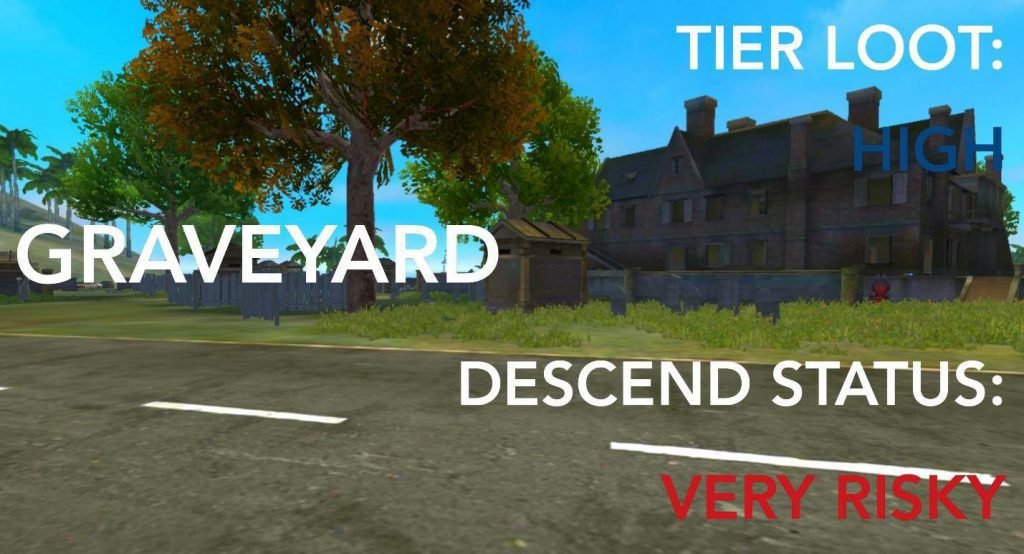
Descend Status: Very Risky
The area is a very risky place to land which can, of course, be rewarding as well. It is good to loot and boot out the moment good items and weapons are found.
7. Hangar
Tier Loot: Mediocre
Hangar is located at C4 on the map. It is a stable situated, mediocre available loot area on the Bermuda map. The area provides climbable structures providing some height advantages. The two hangars expose players from their fronts and backs due to them being open spaced with few crates to hide if shot at. While running towards the nearby Rim Nam Village is more advised, it can be quite challenging due to the open landing area where anyone could easily be spotted.
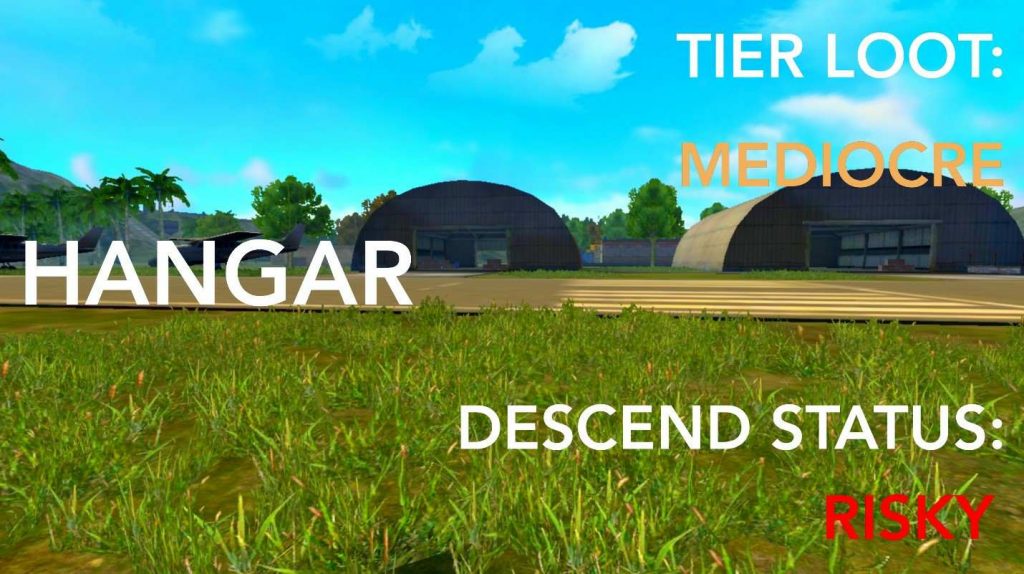
Descend Status: Risky
Not a too risky place to land though, a certain degree of caution is advised due to the immense open space and little cover.
8. Katulistiwa
Tier Loot: Low
Katulistiwa is located at D3 on the map. It is a low situated, low tier available area on the Bermuda map. The area features just normal houses and is by itself nothing special compared to the other locations. It does, however, provide a player launcher that can launch the player to the nearby Graveyard quickly.
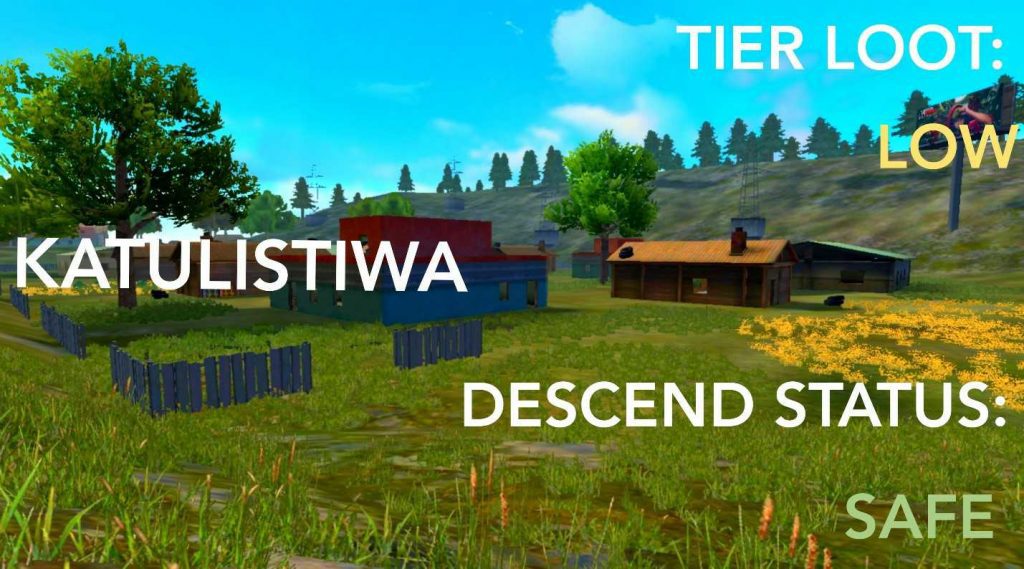
Descend Status: Safe
Not a too risky place to land and being a bit close to the high tier loot Graveyard and high situated Bimasakti Strip makes it a good location to stop by for needed items, if not already stacked upon.
9. Keraton
Tier Loot: Low
Keraton is located at H4 on the map. It is a high situated, low available loot location on Bermuda. Featuring only 2 structures with a distant tower, the landscape does not provide much cover if others happen to land there. Exiting the area without attaining decent gear first could drop odds of survival for the player.
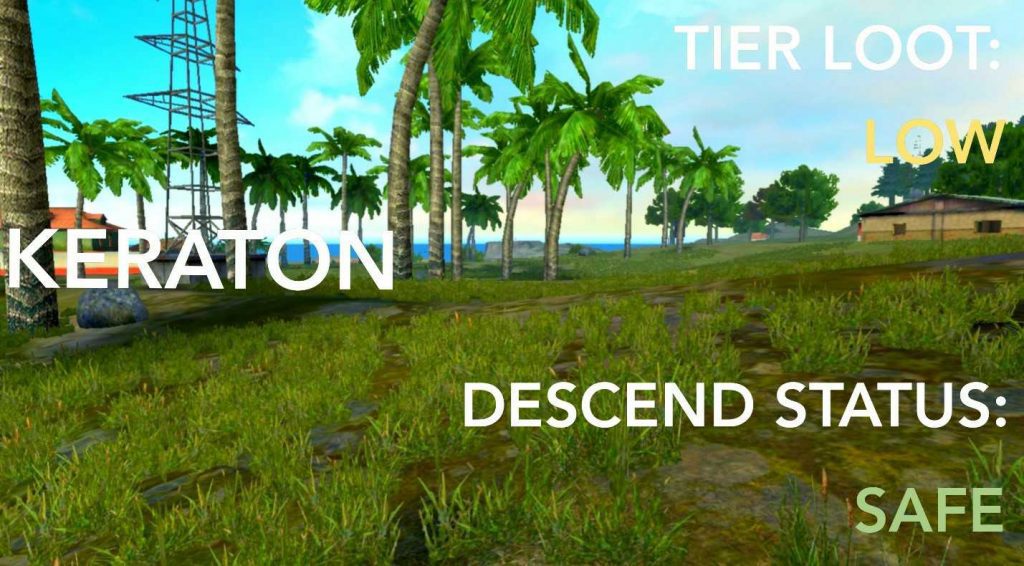
Descend Status: Safe
An almost risk-free place to land and with the close by Cape Town, it is the safest place to land on as of now.
10. Kota Tua
Tier Loot: Low
Kota Tua is located at G6 on the map. It is a low situated, low tier loot available area on the Bermuda map. The area features ruins and some structures to loot and provides some decent cover against enemy attacks. Although, if you decide to travel in the direction of Sentosa it has to be done with caution as there is almost no cover to hide behind.
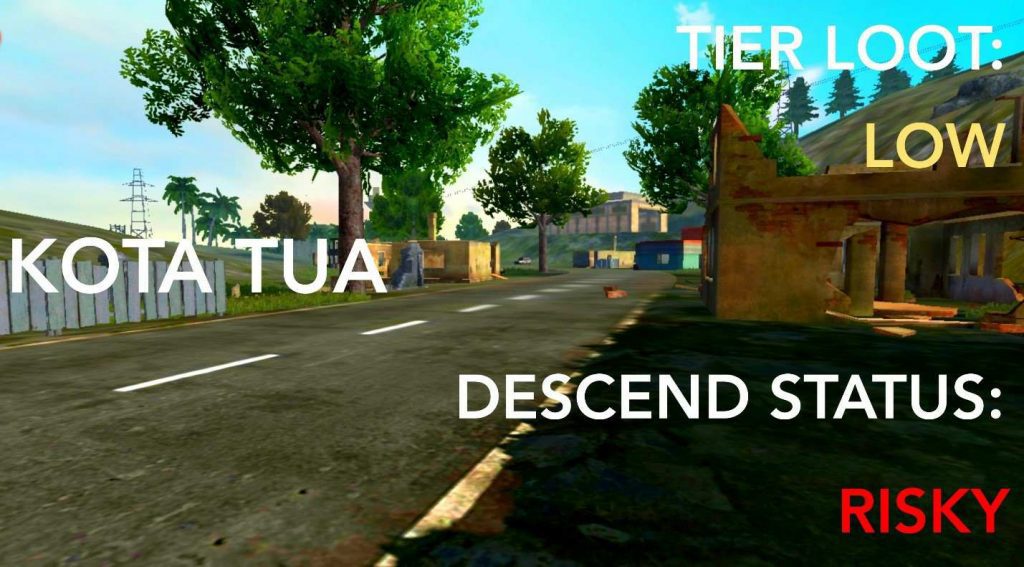
Descend Status: Risky
Being located near the high-tier loot available Sentosa makes it a risky location to land. The area is, however, directly connected with ziplines making it easy. But it is time-sensitive to travel between both locations in search of higher tier loot.
11. Mars Electric
Tier Loot: Mediocre
Mars Electric is located at F6 on the map. It is a low situated, mediocre available loot area on the Bermuda map. Featuring 3 huge open structures with crates and pillars for cover and other small open structures to loot, the area only provides cover when near these buildings due to the wide space area available around. It is good to travel to Sentosa for better loot if not much is found in the other areas.
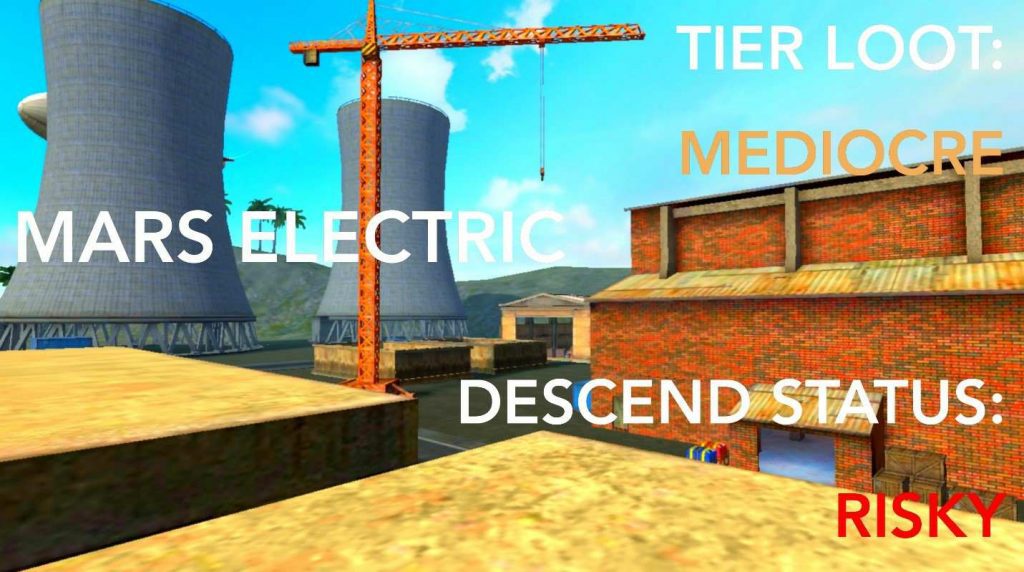
Descend Status: Risky
Being located near the high-tier loot available Sentosa makes it a risky location to land. The area is, however, directly connected with Ziplines making it easy. But it is time-sensitive to travel between both locations in search of higher tier loot.
12. Mill
Tier Loot: Mediocre
Mill is located at G3 on the map. It is a low situated, mediocre loot available area on the Bermuda map. The area features a high structure climbable with the stairs on either side and a lower structure below with 2 others on its side. It provides decent cover with its crates and can easily be escaped with the help of the nearby bridge separating the descending landscape with its huge build.
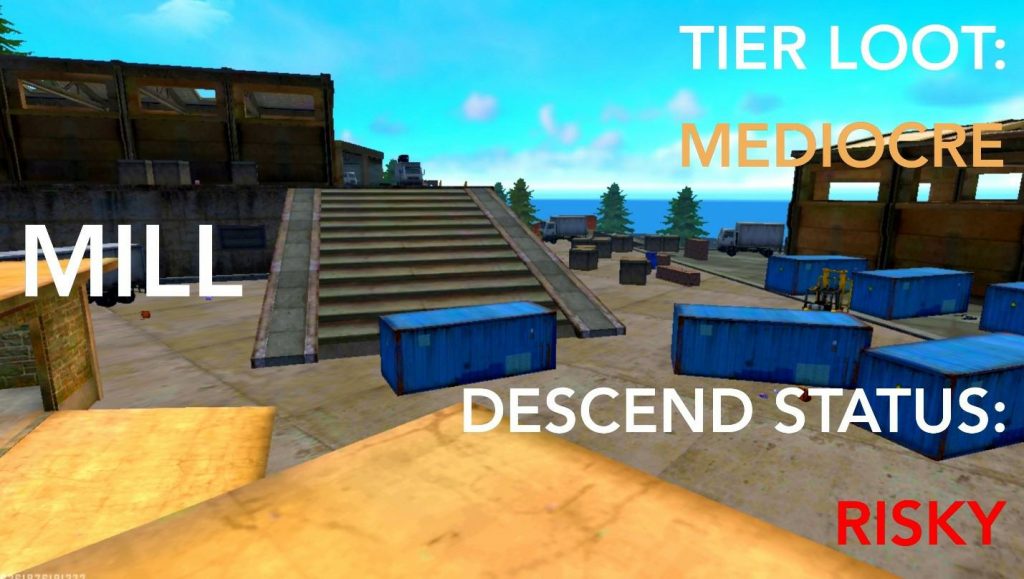
Descend Status: Risky
A risky place to land indirectly as there are not any close by high tier loot areas available. It is advised to loot and leave the area quickly or wait until other survivors depart for better areas.
13. Observatory
Tier Loot: Mediocre
Observatory is located at B3 on the map. It is a high situated, mediocre loot available area on the Bermuda map. The area contains 3 structures with 2 being connected with a small bridge and 1 being climbable from two stairs on both the inside and outside. The structures aren’t too spacious but do provide cover with their openings. To exit the area quickly it is advised to use the player launcher on the front side and aim to the less dangerous Katulistiwa.
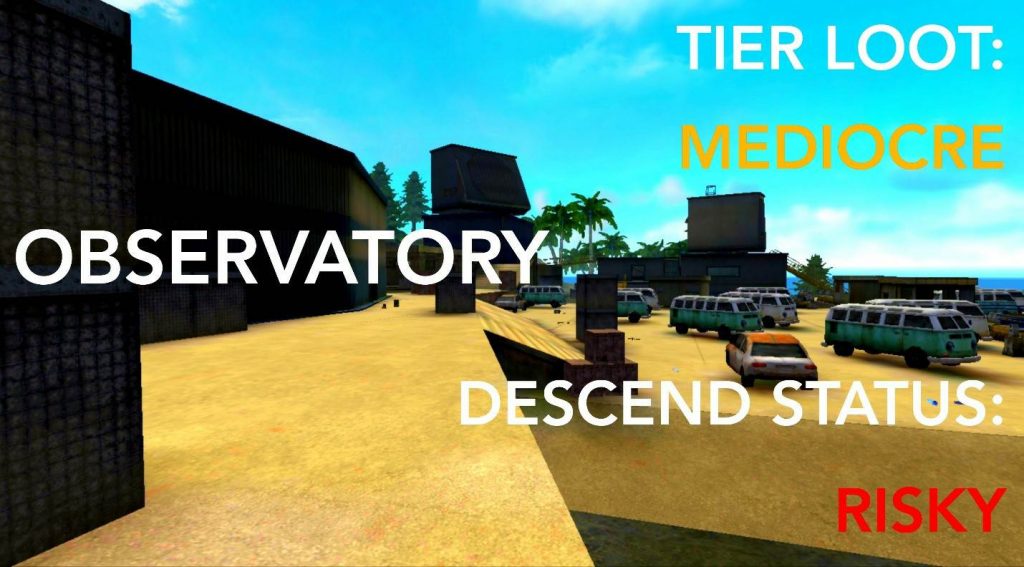
Descend Status: Risky
A less risky place to land compared with the nearby Graveyard and Bullseye but it is advised to loot quickly and not cling around the area too much.
14. Peak
Tier Loot: Low
Peak is located at F5 on the map. It is a very high situated, low tier loot available area on the Bermuda map. United together with Bimasakti Strip, it inarguably forms the center of the map. Its open landscape is perfect for spotting enemies with not much cover for them to hide behind and its distant two-floor structures are great for camping and setting up eventual traps.
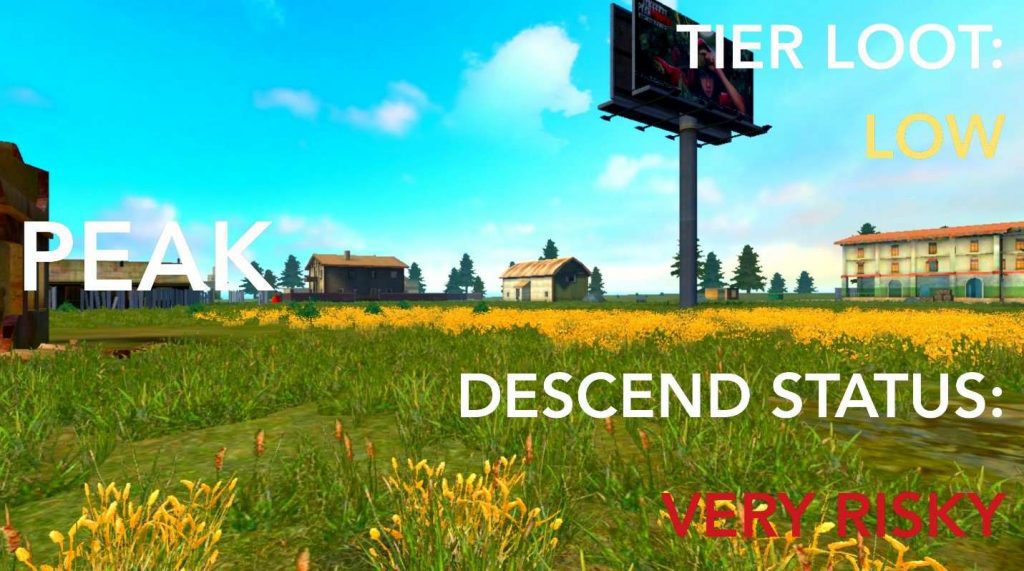
Descend Status: Very Risky
The peak is an extremely risky area to land, especially in its open fields where its easy to spot enemies. Once landed it is advised to swiftly make way to any of the structures and keep a low profile as every shot fired will alert prying enemies.
15. Plantation
Tier Loot: Low
Plantation is located at E3 on the map. It is a stable situated, low tier available loot area on the Bermuda map. The area contains structures of all sorts and is directly crossable through Riverside using the river below. These structures can all be camped at when searching for enemies that might eventually pass by whereas the best is the upper bridge where not many suspect an attack from above.
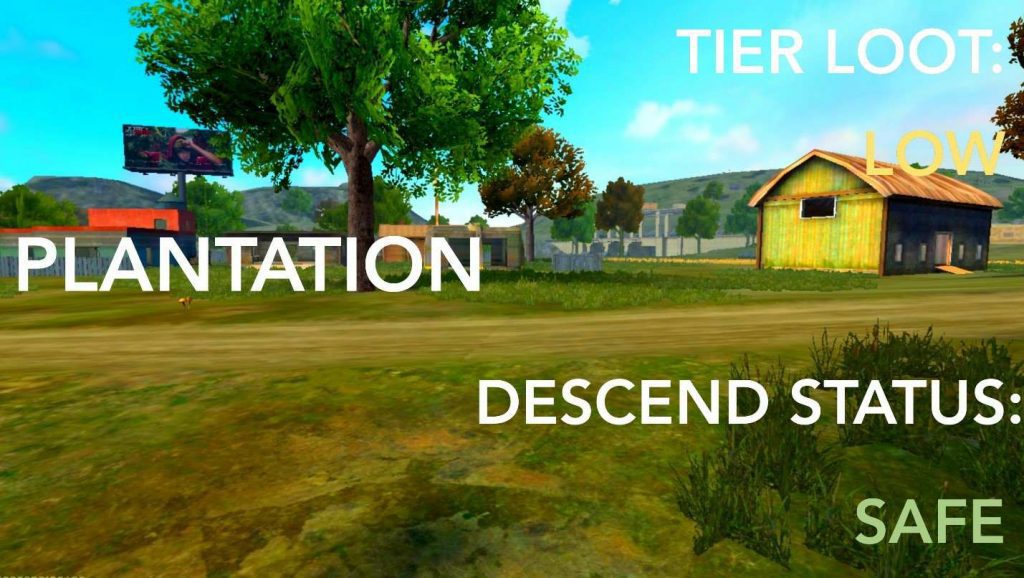
Descend Status: Safe
A less risky place to land and a good escape route if close to the Bimasakti strip. After gaining some distance, it is advised to visit any nearby higher tier loot available locations.
16. Pochinok
Tier Loot: Mediocre
Pochinok is located at F6 on the map. It is a stable situated, mediocre available loot area on the Bermuda map. The area contains few normal houses to loot but could be worth the effort to check for items and other demands.
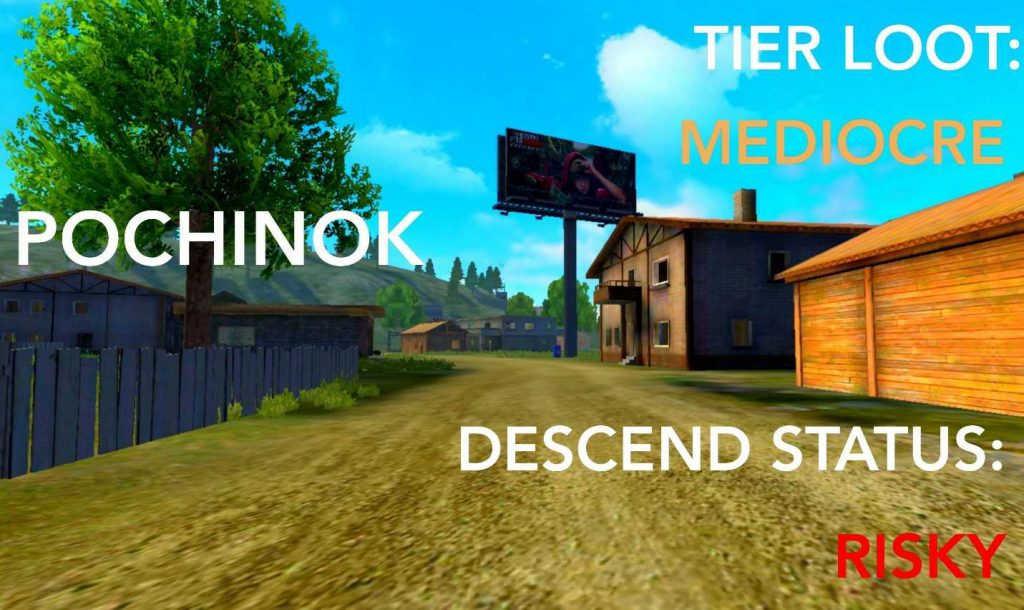
Descend Status: Risky
A risky place to land being within the midst of the high tier Factory, Mars Electric, Sentosa, and Peak. It is advised to loot the area swiftly and head to any of the less populated areas nearby.
17. Rim Nam Village
Tier Loot: High
Rim Nam Village is located at B6 on the map. It is a low situated, high tier available loot area on the Free Fire Bermuda map. The area contains unique huts only to be seen again at Riverside. Some of these huts are scattered while others are to be climbed up to using the boards up the water. Noticeable are the 2 distant houses with 3 huts downhill the second and another house next to the first elevated structure. Camping can be done within any of the two above mentioned houses with ease as they have double floors and open windows to spot nearby enemies clearly.

Descend Status: Very Risky
A very risky place to land, especially when it is in the plane’s line of flight as some players tend to jump at the end of the map. If jumped at, it is advised to maneuver to the second house or even distant hunts to not get spotted easily.
18. Riverside
Tier Loot: Low
Riverside is located at F3 on the map. It is a low situated, low tier available loot area on the Free Fire Bermuda map. The area contains a house uphill and some hunts downhill next to a crossable river. Crossing the river to get to the other side should be done with caution as attempting this will slow the player down and even with proper defenses equipped are quite likely to get eliminated.
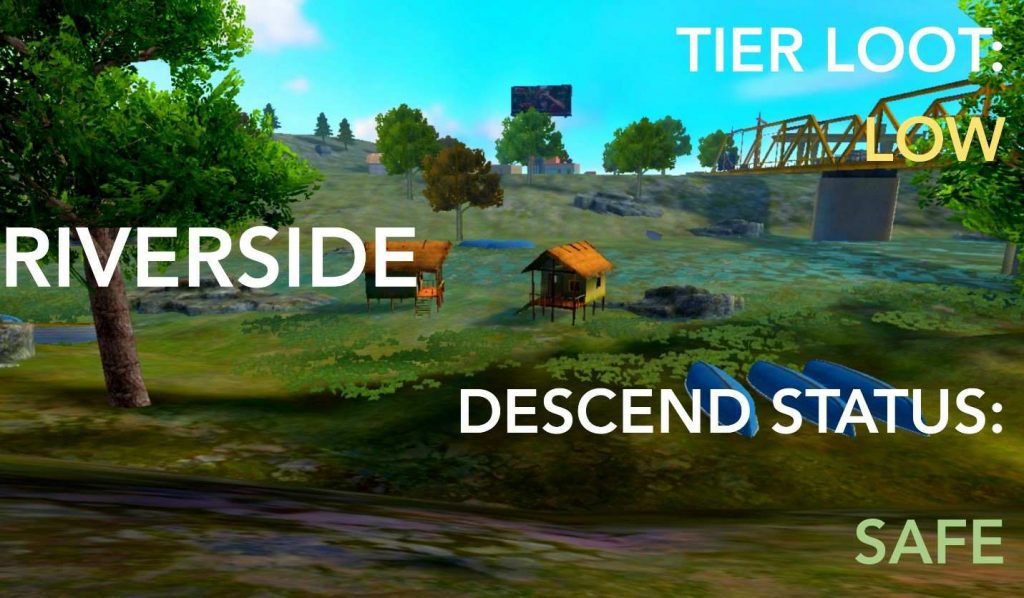
Descend Status: Safe
A less risky place to land and with the Mill nearby. It is simpler to run up to it in search or somewhat greater loot to harvest.
19. Sentosa
Tier Loot: High
Sentosa is located at H6 on the map. It is a low situated, high tier loot available area on the Free Fire Bermuda map. This area is separated with a wide river from the other locations and can only be crossed using either Zip Lines or by using the only bridge displayed on the map. The area contains loads of houses and platforms to look for loot. There is much cover available inside the houses or the nearby trees if shot at. Given its on-edge location on the map, this area will always be covered up by the storm as such it is advised to grab the needed loot and leave the area using any of the above-mentioned methods.
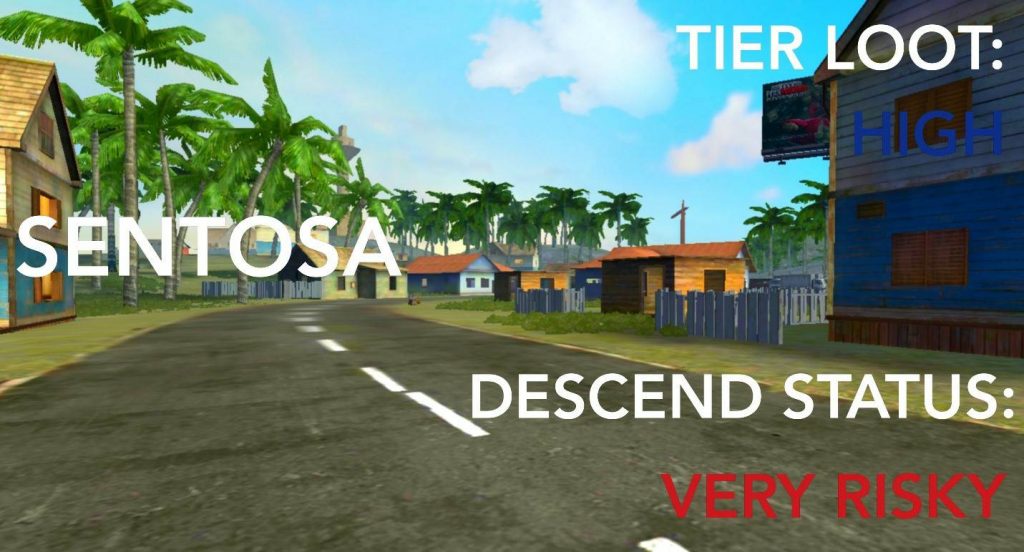
Descend Status : Very Risky
A very risky area to land especially if it is close or in the plane’s line of flight. After looting, using the Zip Lines is the best way to exit the area, if not the bridge is the second best with last being timely swimming.
20. Shipyard
Tier Loot: Mediocre
Shipyard is located at E2 on the map. It is a stable situated, mediocre available loot area on the Free Fire Bermuda map. The area contains the most containers to be seen on the entire map with 4 climbable structures, 3 climbable cranes, and 3 lootable structures with loads of cover within them. Some open containers can also contain loot and could also be used as a cover for enemy shots. If not all demands are satisfied, pinpointing the nearby Bullseye or Graveyard as the next location to visit is the best option.
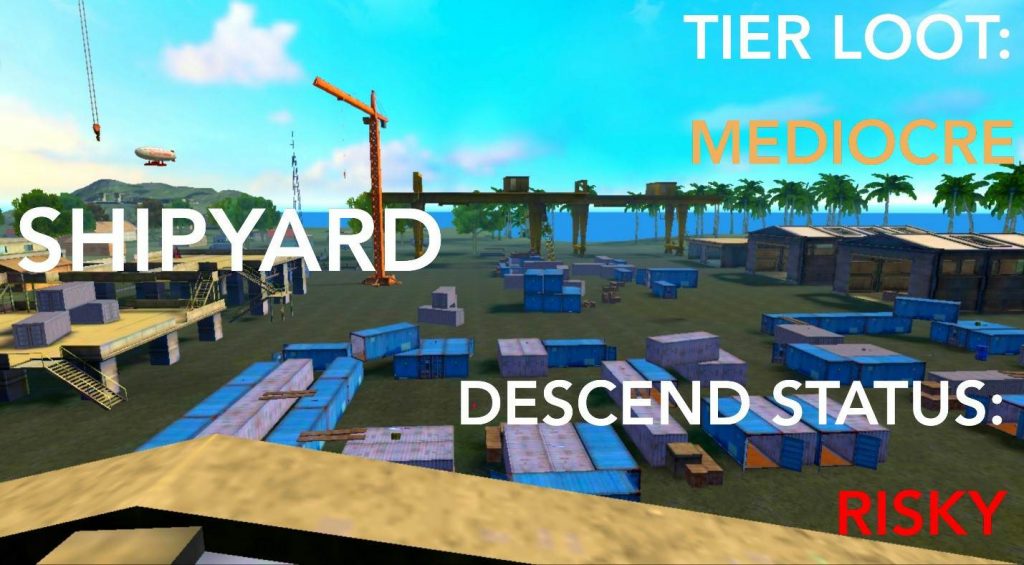
Descent Status: Risky
A risky area to land because of Bullseye and Graveyard also being close by. Leaving the area can be done quickly using one of the two Player Launchers in the area.
We hope you find this Free Fire Bermuda Map guide helpful. Please feel free to ask any questions in the comments section below, we’ll make sure to reply to everyone.
For more Mobile Gaming news and updates, join our WhatsApp group, Telegram Group, or Discord server. Also, follow us on Google News, Instagram, and Twitter for quick updates.